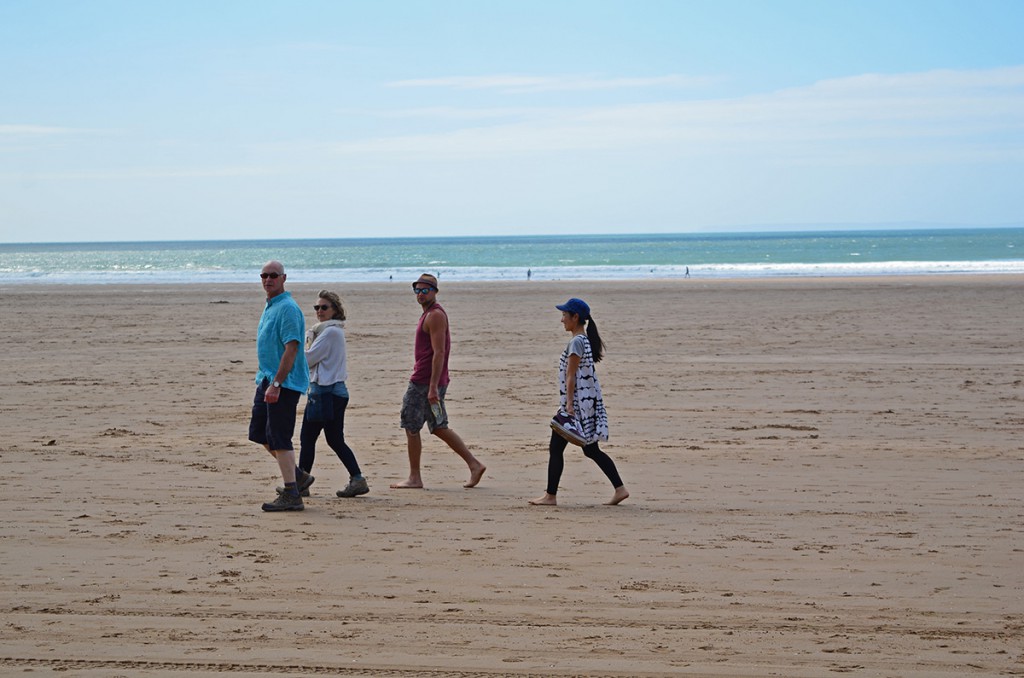
Before we even arrived at our final destination in England I was already thinking what we needed to do to prepare for our next leg of the journey. Japan. Unfortunately we rushed England a bit, I wanted to surprise my Dad on his 60th birthday. This meant catching a train from London to Exeter, but his face when we arrived was definitely worth the sacrifice. It was summer time. Friday, and the train was packed with people heading to the countryside to get away from the city. Mayu and I both sat on the floor next to our bikes. We’d spend all day riding a bicycle but never all day staring at it. There was also wifi on the train, tick tick tick, how to burn some hours on a train with no view but a pannier in your face? I know lets start planning the next trip!
The first thing I noticed was how worn down my rims were. Again completely novice to how bicycles wear over time or better said, distance. I started to research. . . Shit by the looks of things I need to replace the rims if I want them to last another 15,000 / 20,000 kms. These rims still had some life left in them, maybe 5000km or more, but exactly how long wasn’t a question I wanted answering up a mountain on some dusty old track. I’d seen pictures of rims cracking, but wasn’t sure why, but now with a better understanding. It is because they get worn over time and get so thin that the metal cracks open under the pressure of the tire.
If it ain’t broke don’t fix it, but if its gonna break at a very irritating time. Fix it now. The greatest thing about cycling as a couple is the company, the worse thing is the cost. So if I need new wheels. Mayu needs new wheels. Luckily I have this bizarre confidence that if other people can do something, I can learn to do it too. All it takes is time, stress, but in the end leads me to satisfaction. So instead of spending our travel tokens on 4 hand built wheels, I can spend a couple of weeks sitting at the dinner table making them myself. I learn a new skill, have a lot of fun and it keeps us on the road for longer.
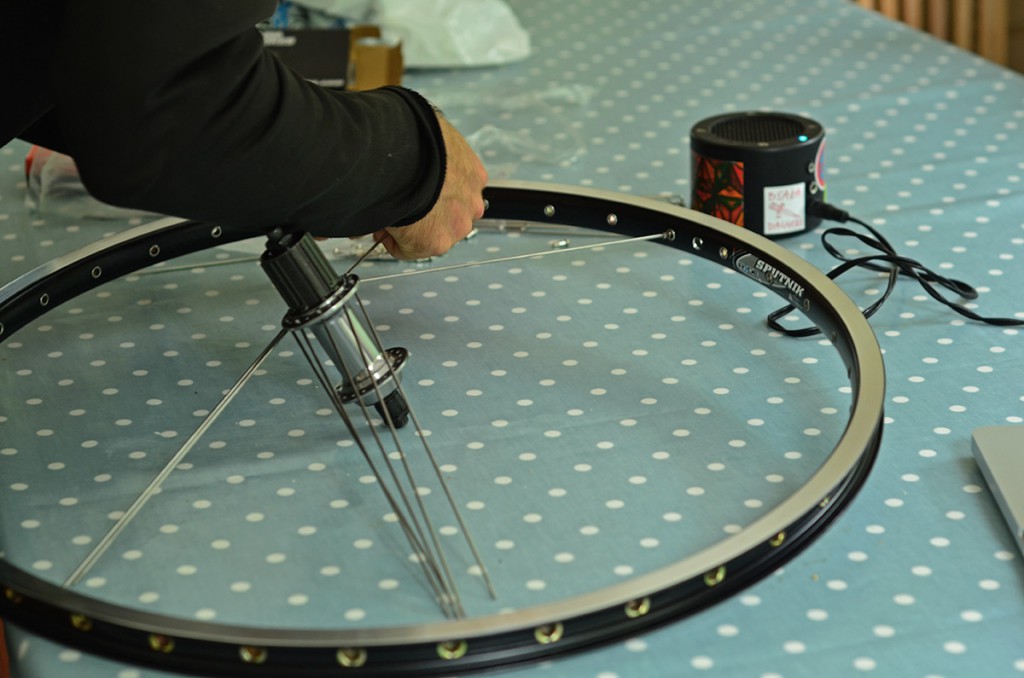
Unfortunate or fortunate depending on how you view it. I had to build 6 wheels instead of 4. Which I’m very pleased as it gave me more and more practice, and its something that I really enjoy doing now. Very mediative. The first wheel had the incorrect spoke length on the non drive side of the rear wheel. Just a mm too short. I took the finished wheel to a local bike shop, the bikeshed in Barnstaple, very nice guys by the way. They looked over the wheel, told me I had done a good job, but agreed that the spokes were just a little short. So I sent back some spokes and got them replaced. Second try, I built the wheel up even better than before, I was so pleased. However just as I was truing the last of the lateral movement I noticed a small dent in the rim. I contacted the bike shop SJS and they sent another one free of charge. So now I had some practice I really got the hang of it and built 4 strong wheels.
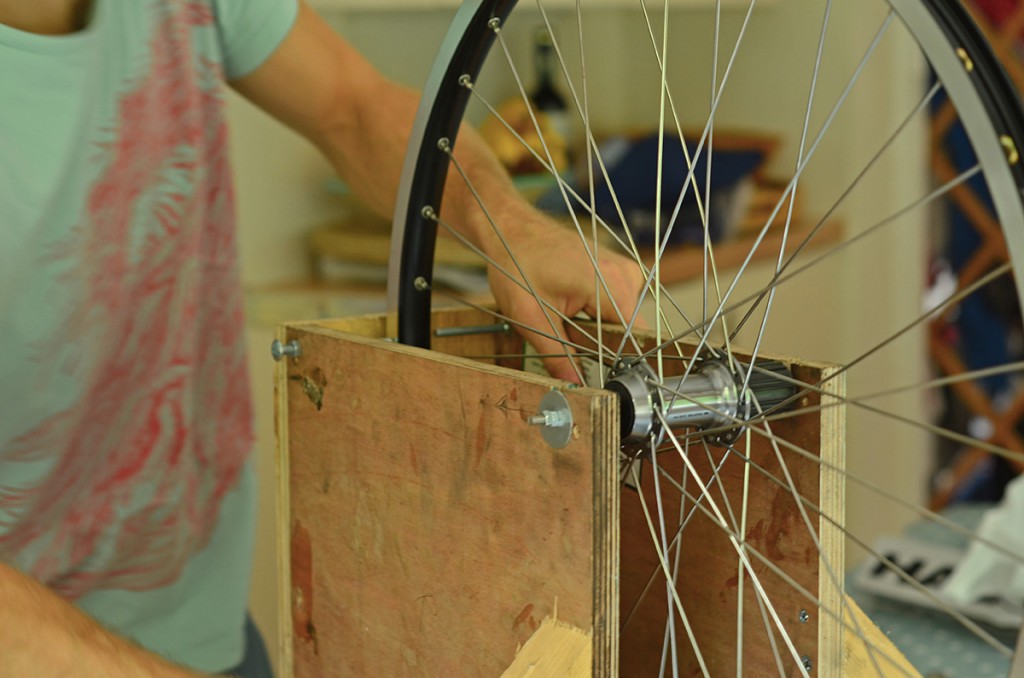
If anyone is interested in making wheels for themselves, I can really recommend. Especially for long distance tourers, just feels good to know you can knock up a wheel where ever you go. Admittedly I did build myself a truing stand, but now I understand how it works, I don’t think this is super important. I think all can be done on a bike turned upside down. As long as there are some accurate reference points on either side of the wheel that you can move towards the rim in very small increments. I used a bolt with a nut either side on a wooden stand, allowing me to move them a fraction of a mm on which ever side of the rim I wanted to true. The reason why it helps to be able to move it just a fraction, is to hear it scrap the rim ever so slightly. So you tighten the opposite side just before it starts scraping and just after it stops scraping. Also if you are trying to dish the wheel one way ever so slightly, you can bring the indicator close to the opposite side you want the dish to move to and true using the scrape method. If I was reading this a few weeks ago, I’d be thinking, what the F$%k is talking about. So yeah don’t worry, if you get stuck in, you’ll know what I mean, and feel free to ask questions.
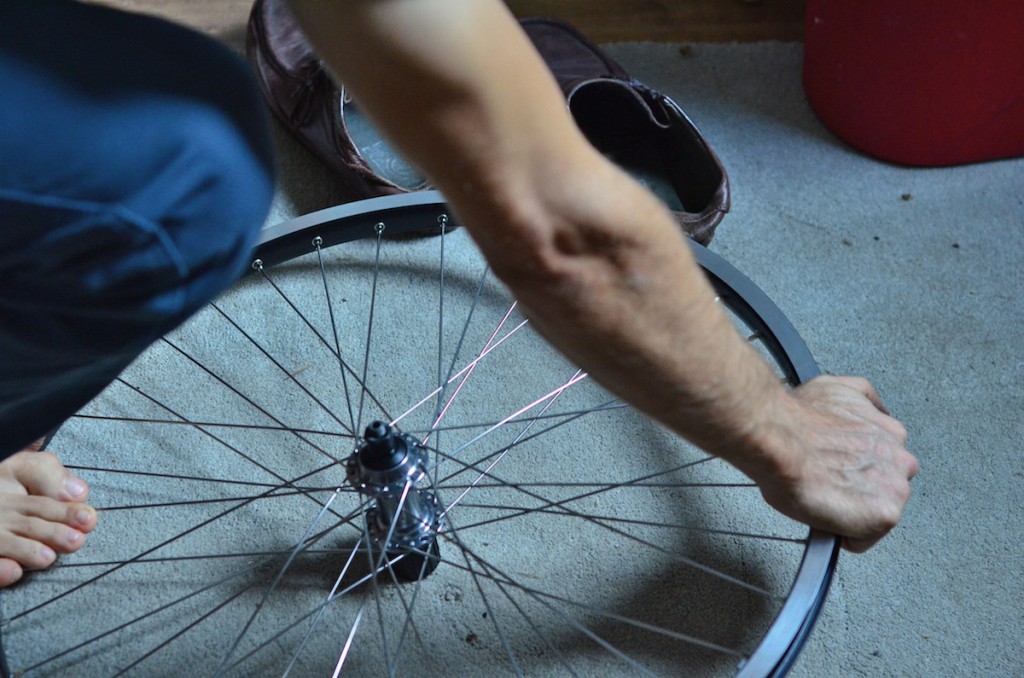
So wheel building, take your time, its not something to rush. Incidentally that’s just about what everyone else says on the internet. Its definitely easier to do a little bit at a time. Take it off the stand or bike, stress it first (stressing is moving the wheel around on the floor trying to bend it until all the creaking goes away), check it for dish. This can be done putting the wheel on 2 equal sized objects and some coins underneath the axel. If it is dished correctly, the coins will be exactly the same distance from the axel when you flip the wheel over. You can get this within 0.5mm or less if you take your time. Also check the rim is round, by using something underneath the wheel and spinning it. Lastly try and get all of the spokes to sound the same when they are plucked, they will be very different on either side of a rear wheel or disc brake wheel but the same on a normal front wheel. Don’t be too hung up on that, the most import thing is trueness, roundness and dish, don’t sacrifice either of these for sound. But basically you try and work on all of them simultaneously, keep repeating this process until the wheel is tight and true. Get on youtube and start learning.
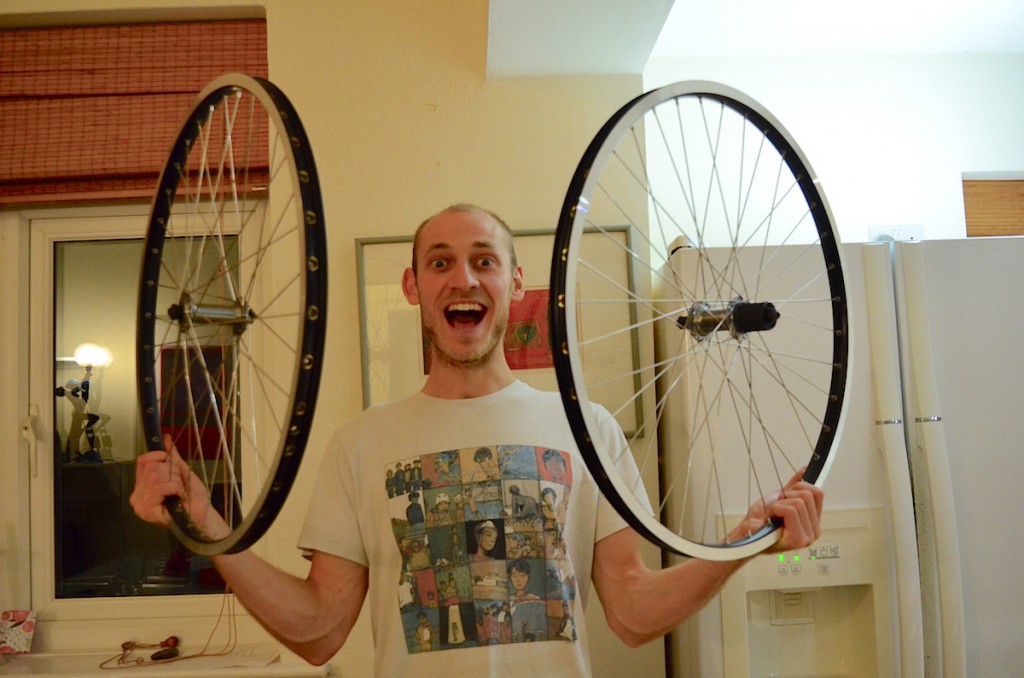
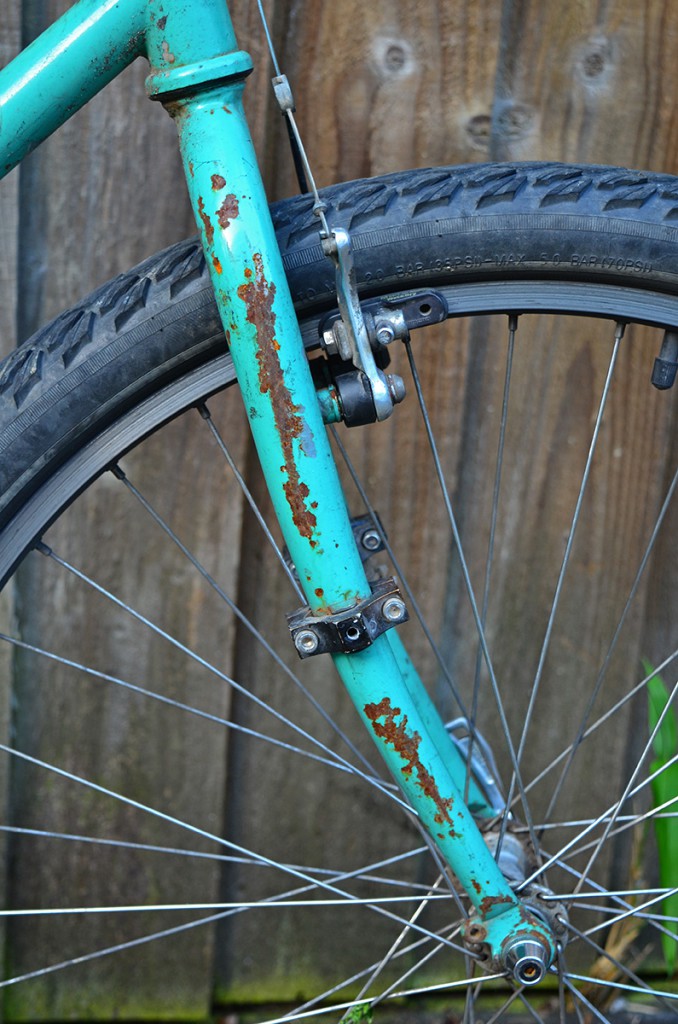
With wheels sorted, it was time to take a look at everything else. If you’ve been following the previous blog about building a bike you will have seen that I spray painted the bike using rattle cans. (https://2islandtravellers.com/diy-bicycle-touring) Although it was fun and you can play around with the design, it doesn’t last the test of time, in fact its quite weak. My advice is don’t waste your time with this, especially if the bike is for touring. As its very likely that everything will take a serious beating. Chucking the bike on a ferry, airplanes, buses you name it. In Namibia we hitch hiked a few times, but with a little bit of monotonous road saved. Came a broken bicycle part. And the paint work really showed.
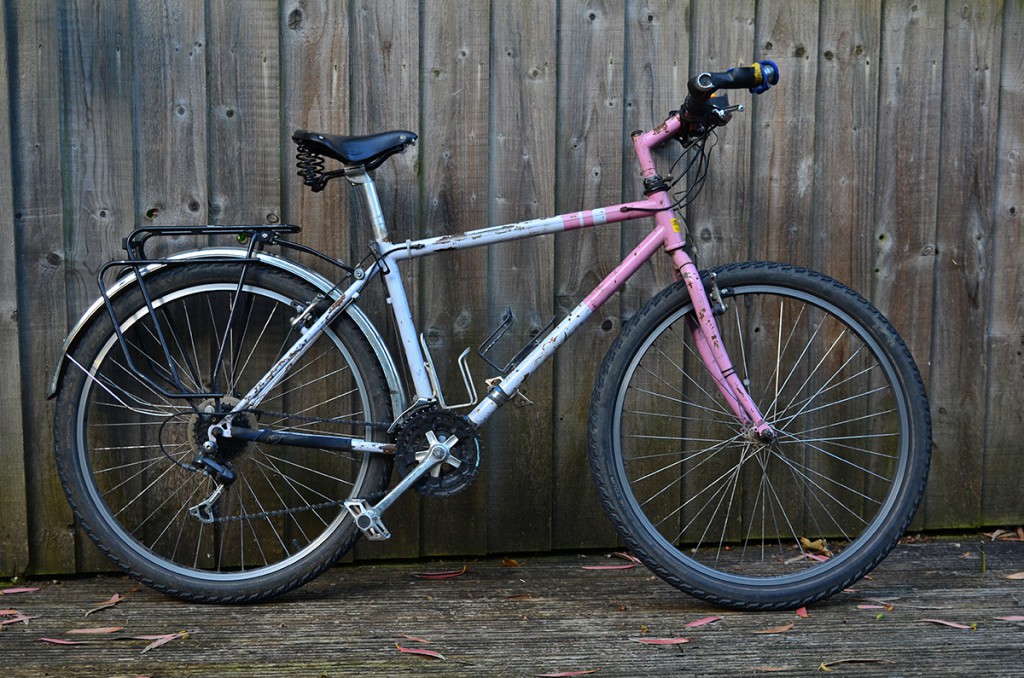
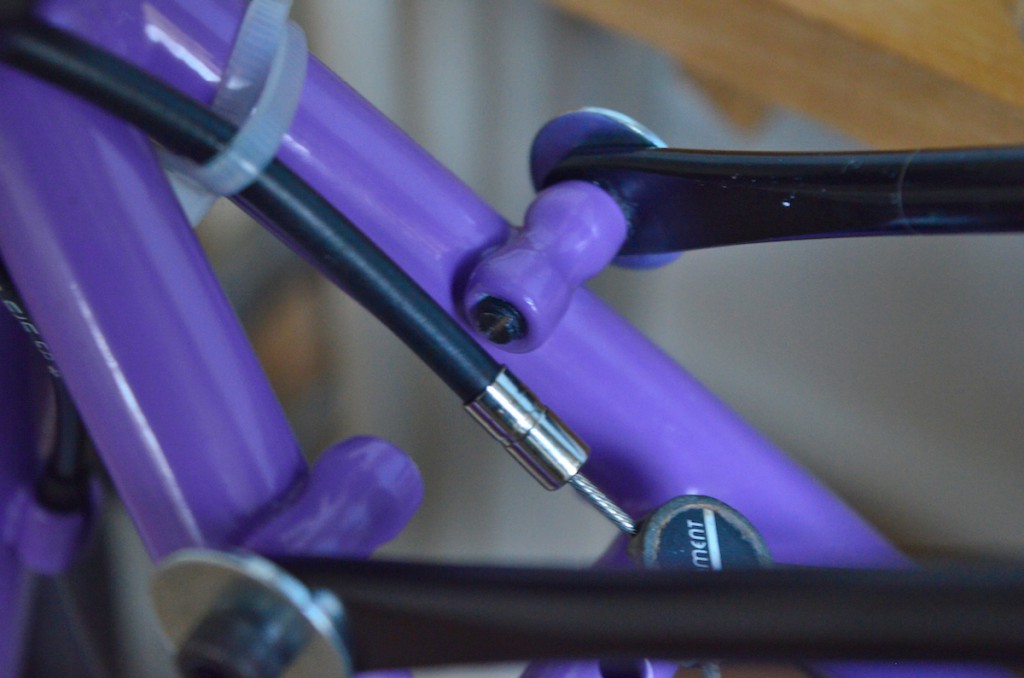
This time I decided to have the bikes powder coated at a local place in Devon. Man the paint is tough! I know this because I had to pick at it for 2 days! Stupidly I thought that they would protect all of the threads to stop the paint getting to those parts. Thankfully they cared to protect the bottom bracket thread and the rear derailleur, but everywhere else had varying degrees of paint caught in the threads. This was such a pain in the arse to get all of the paint out, so if you go down this route make sure you put some bolts in all the threads you want to protect or chat with the people doing it and be clear on what it is you want. If like in our case, the paint does get in the threads. Don’t panic, theres a rescue remedy. Using a sharp pointed instrument like a pocket knife, pick at all the entrances of each thread and clear the first 2 top threads. The reason why you need to clear some of the thread is to engage a tap tool that re cuts the female thread. You can pick up this kit on the internet for about 8 quid, it has thread sizes from 4mm to 8mm. I got a brand called silver line and it worked really well. Like all things, take your time on the preparation. What ever you do, don’t go gun ho straight in with the tapping tool. It will just bite onto the paint and cross thread the hell out of it. Then all you’ll have is a lump of steel with a load of messed up threads. Its really important that it engages with a metal thread, so if you can’t see this clearly after picking at it for a while . . . keep on picking.
Once I got all the top of the threads clear, I started slowly working in the tapping tool. Threading it in half a thread and then out again, in again, out again. Until I got to the end of each thread. This took about 4/5 hours to do both bikes. Maybe it could be done quicker, but taking my time meant no mistakes. By the end of it, the threads were lovely and clear and bolts went in perfectly. To clean out the bottom bracket thread I used a rotary wire brush on a cordless drill, I also used this to clean the threaded headset tube and the brake posts on the forks and frame. This is a really useful thing to have to get any rust or crap out of the threads.
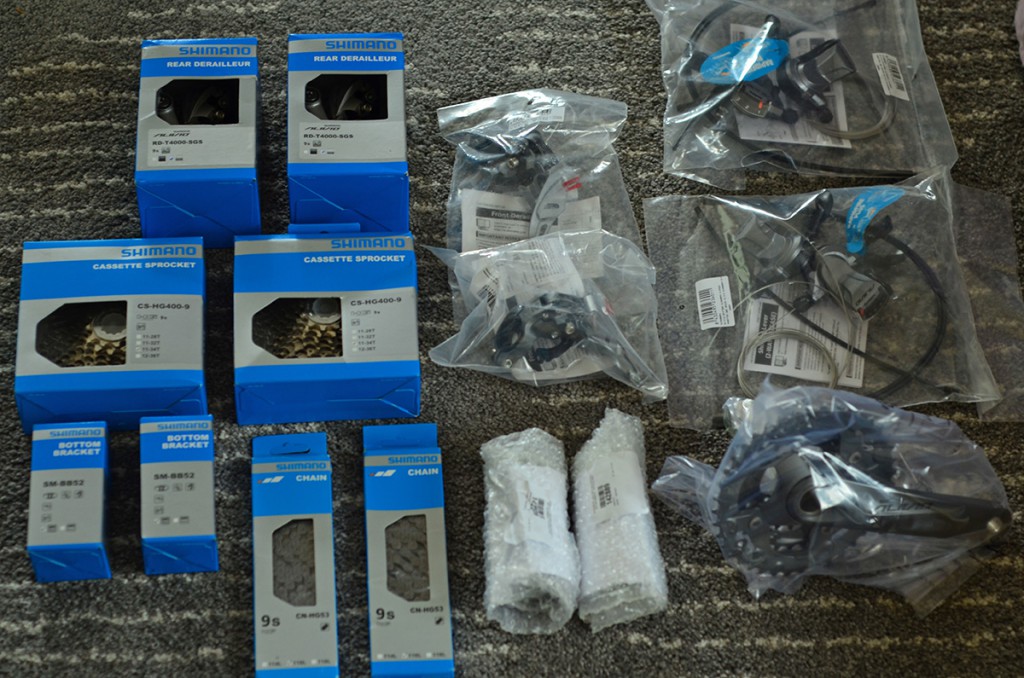
Now that the frame and fork threads were clean. Wheels were made and parts were ordered. I could begin the process of putting everything back together again. Something I wish I’d know previously is where to use grease, where to use anti seize and where to use loctite. Lots of information can be found on the internet about this. But basically anything with bearings and is moving. Use grease. Anything that is threaded and has a tendency to seize up, for example bottom brackets can be a real pain. Use anti seize. And for all other little bolts that I didn’t want to undo so easily like the rack bolts. Use loctite. Putting the bike back together is fairly simple. Again I took my time, made sure any nuts and bolts were threaded up carefully and slowly. Tighten everything, tight but not too tight. I don’t have a torque wrench, this is just something I have learn’t to do over time, and making mistakes of over tightening things in the past.
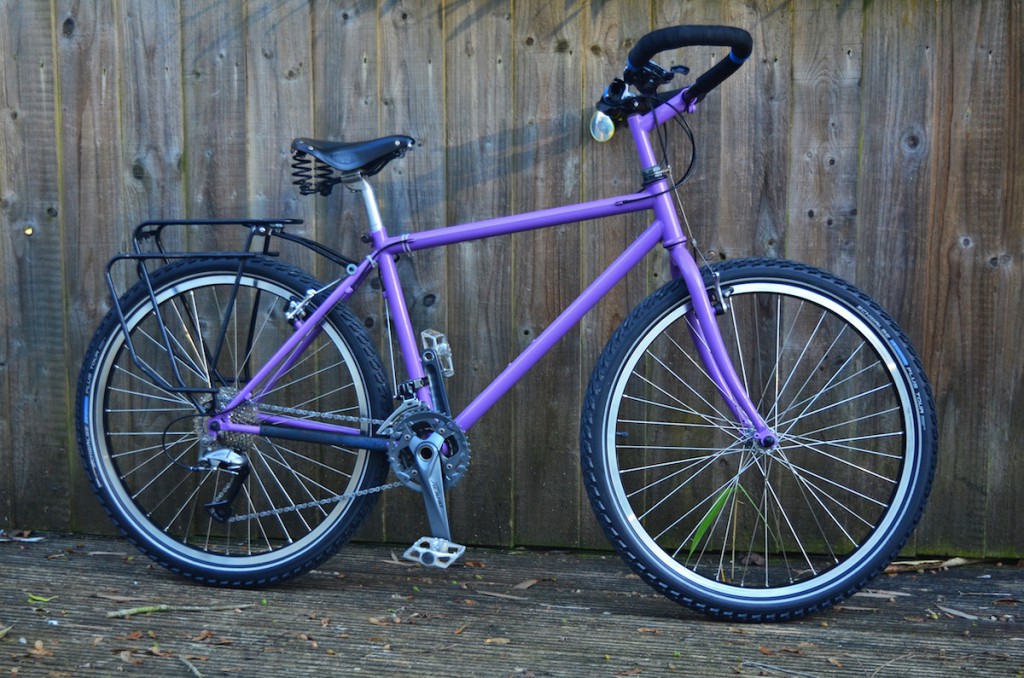
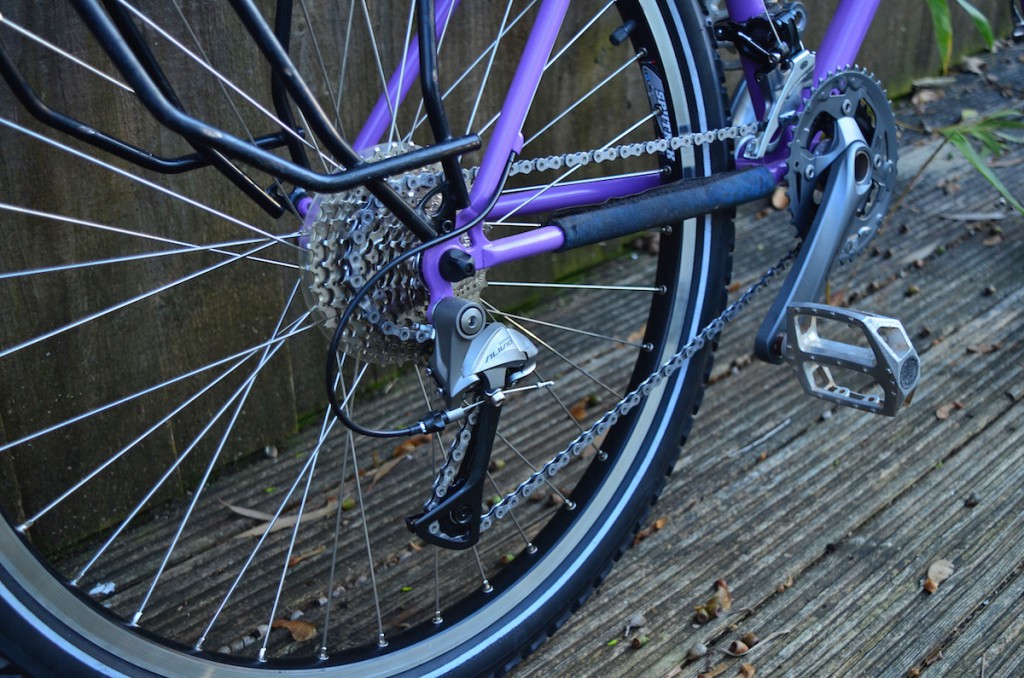
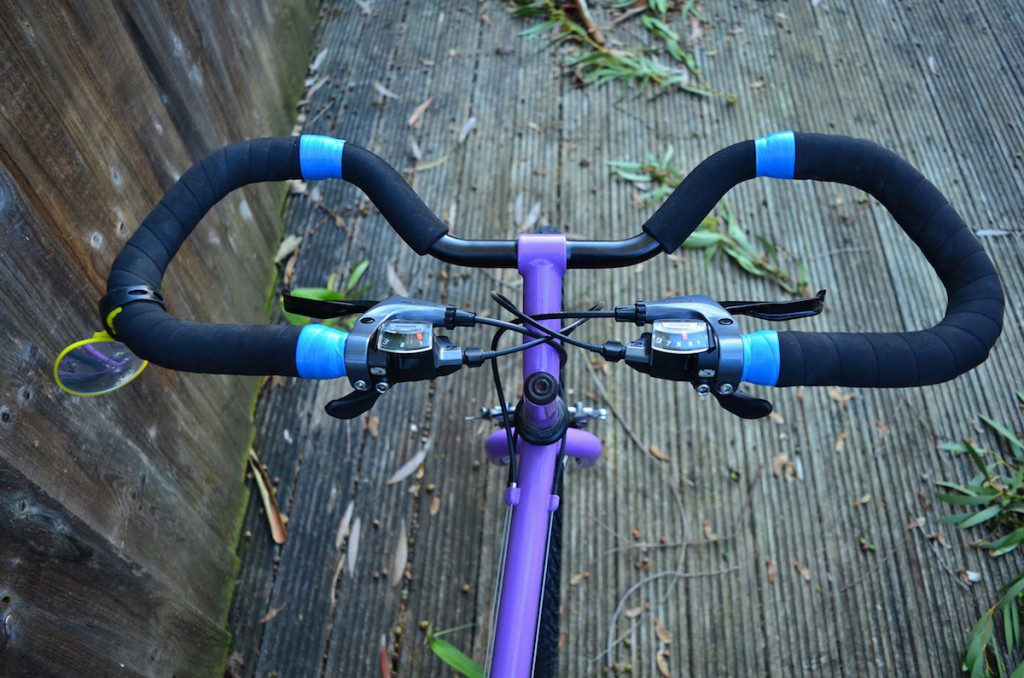
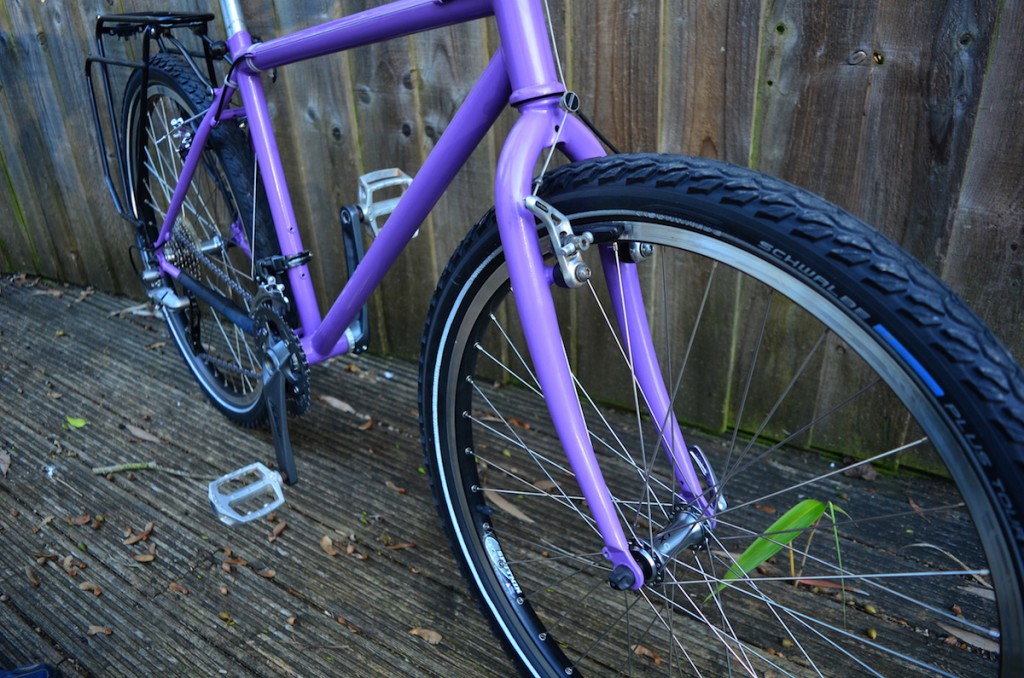
A side note on the rack bolts. In the past these have snapped off a couple of times. This has happened mostly when we are on bumpy roads. I think lack of care making sure they were properly tightened regularly. It might also be the case of having weak bolts. The first time it snapped, I was lucky that there was a tiny portion of the bolt sticking out, that allowed me to cut a small groove with a hack saw I borrowed from someone and unscrew the bolt with a flat head screw driver. If the bolt had snapped leaving only a piece inside, I really don’t know how I would get it out. To avoid snapping I have bought some high tensile bolts instead of stainless steel bolts. They are cheaper, much stronger. But they rust. I don’t care about a bit of rust on the bolts, and to double up I have cut a groove in them before I put them in. So if I do forget to tighten and they end up snapping, I can simple undo with a flat head screw driver. Sorted.
Voilà, there we have it. A brand new touring bike ready for the road. Admittedly it took a long time to gather the pieces. Some know how and confidence to pull it off. But as I always think. If they can do it. I can do it and if I can do it you can do it. So if moneys tight, you have a lot of time on your hands and a creative urge. Get yourself a old steel mountain bike and bring it back to life.


